Setup
Create a Discord Bot Application
Go to the Discord Developer Portal and create a new application. Discord Developer Portal
Click on the "New Application" button.

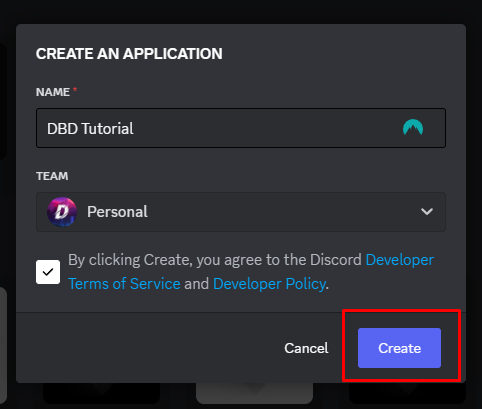
Enter a name for your application and click on the "Create" button.
Click on the checkbox to agree to the Discord Developer Terms and click on the "Create" button.
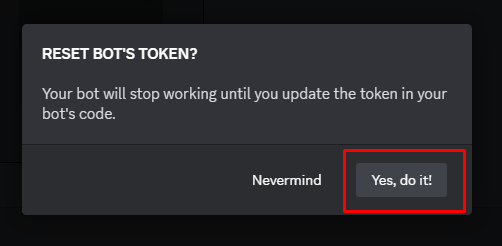
Click on the "Bot" tab on the left sidebar.
And then click on the "Reset Token" button to create a new bot token.
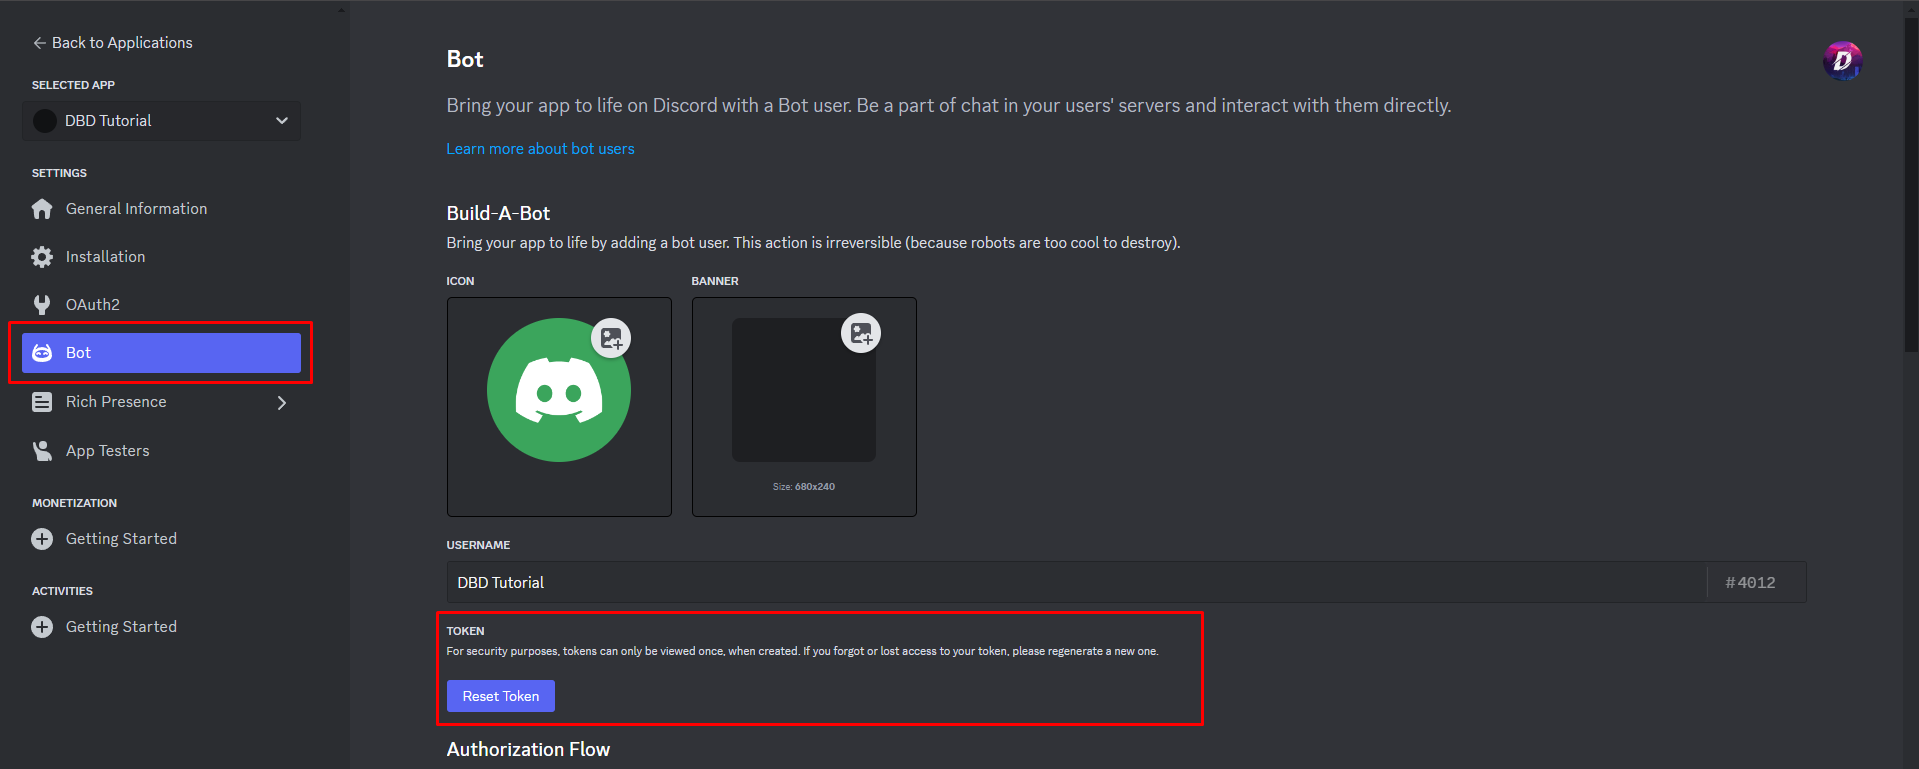
Click on the "Yes, do it!" button to reset the bot token.
Copy the bot token and save it for later use.

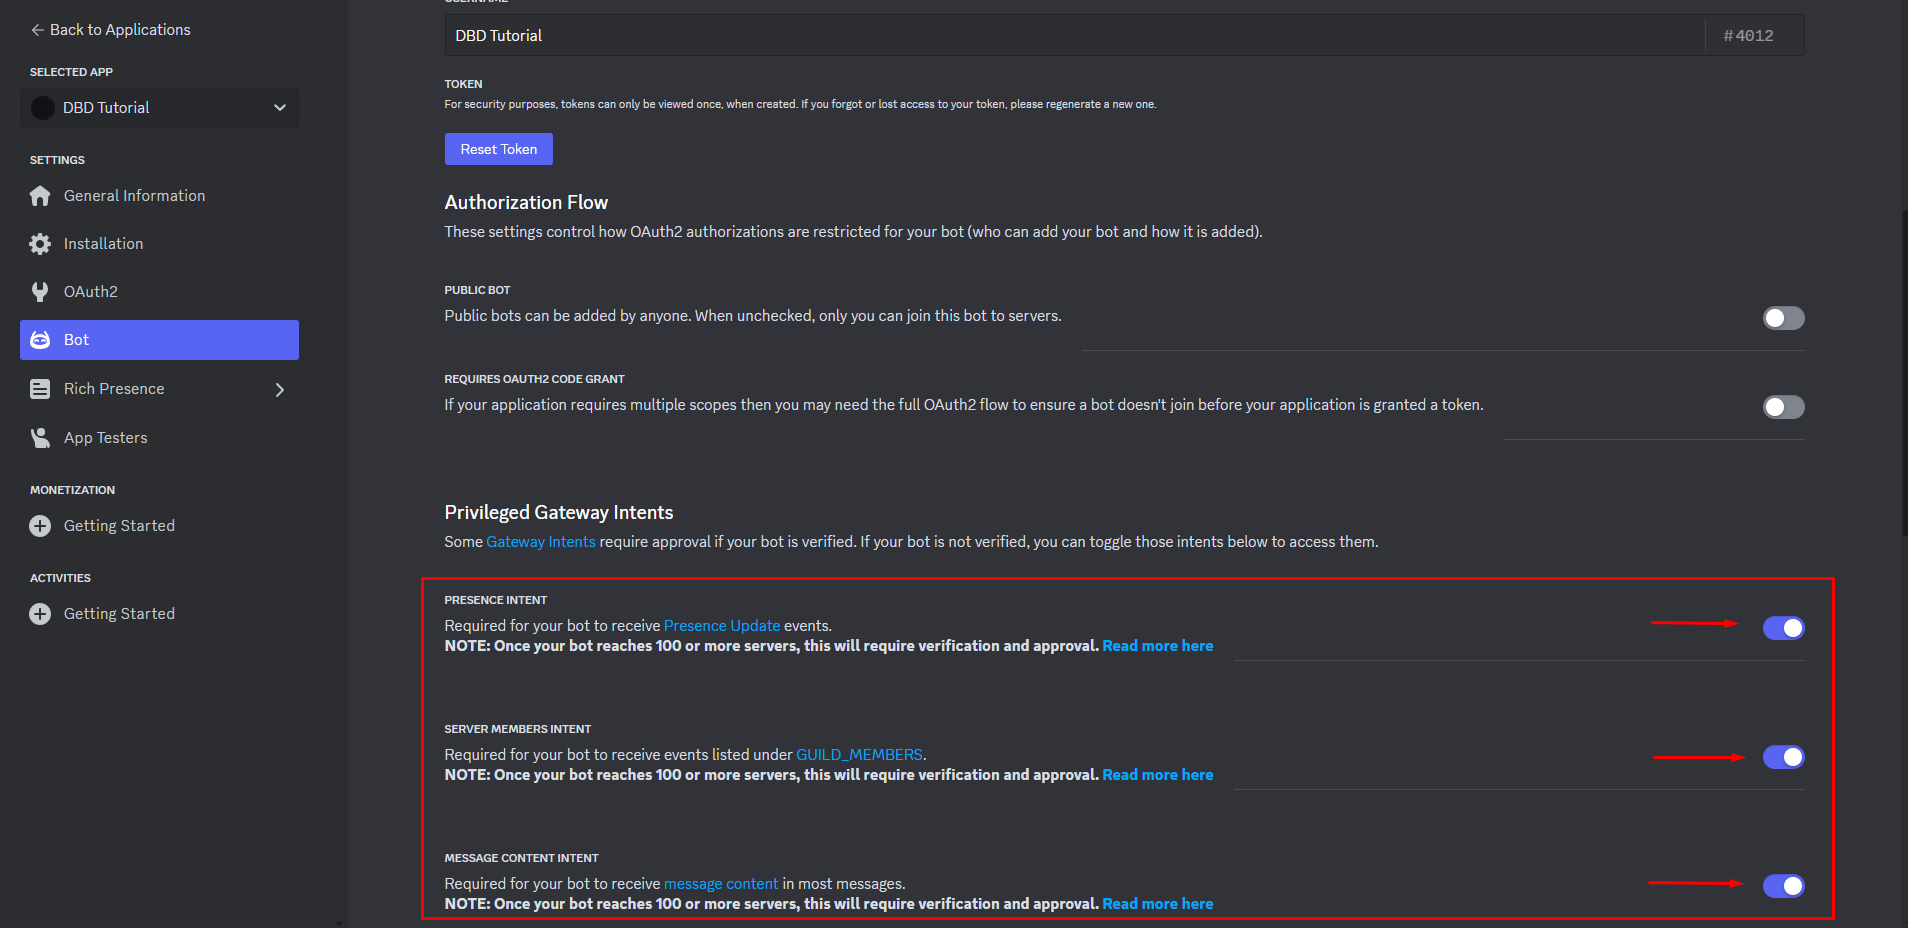
Enable all the necessary Intents for the bot.
Click on the "OAuth2" tab on the left sidebar.
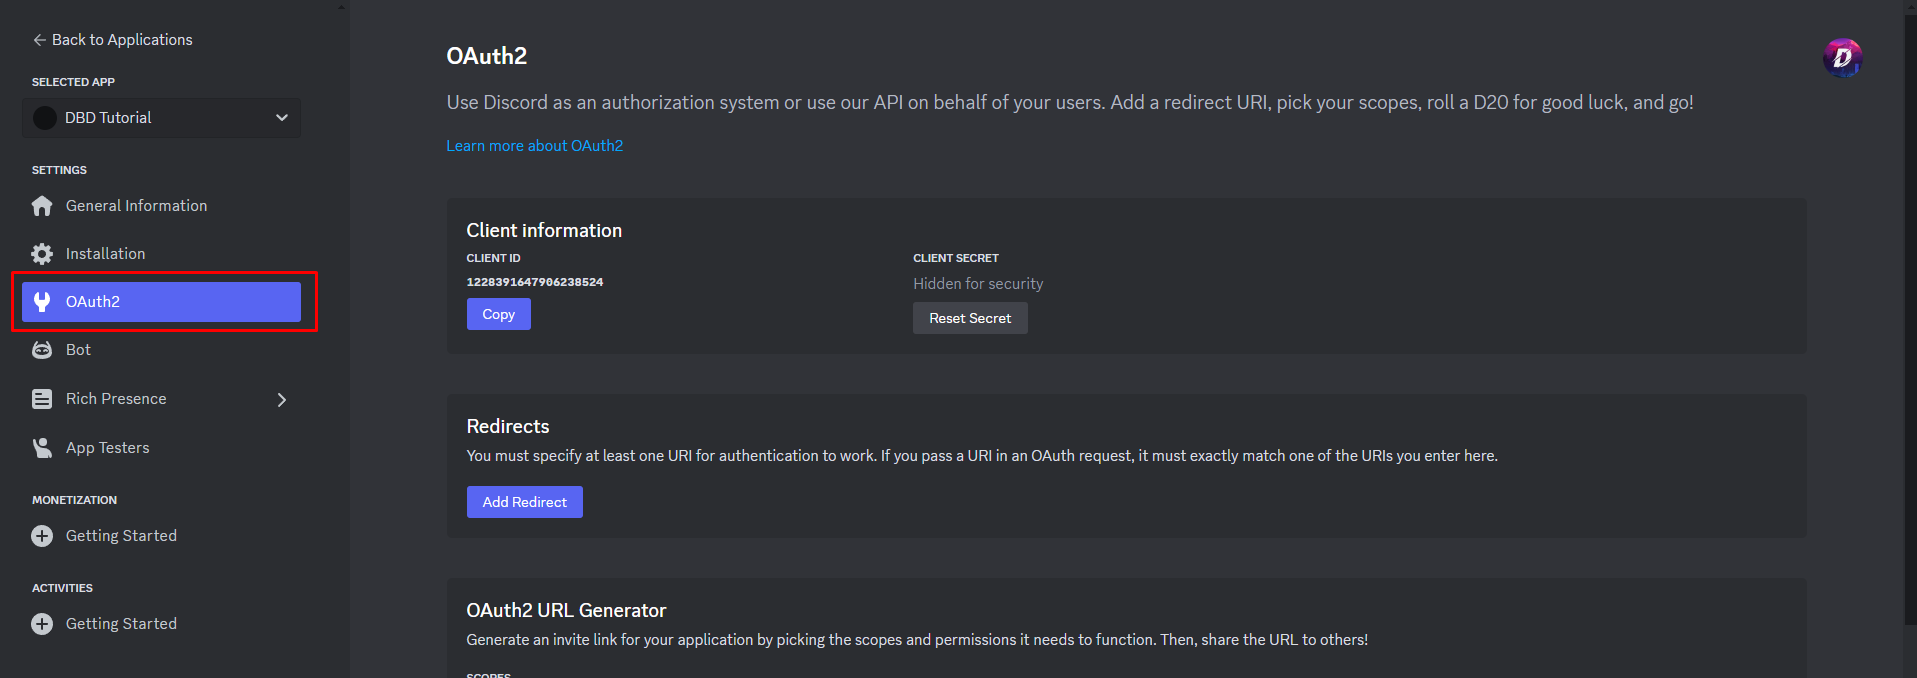
Under the "OAuth2 URL Generator" section, select the "bot" scope.
Select the "Administrator" permission for the bot permissions.
Copy the generated URL.
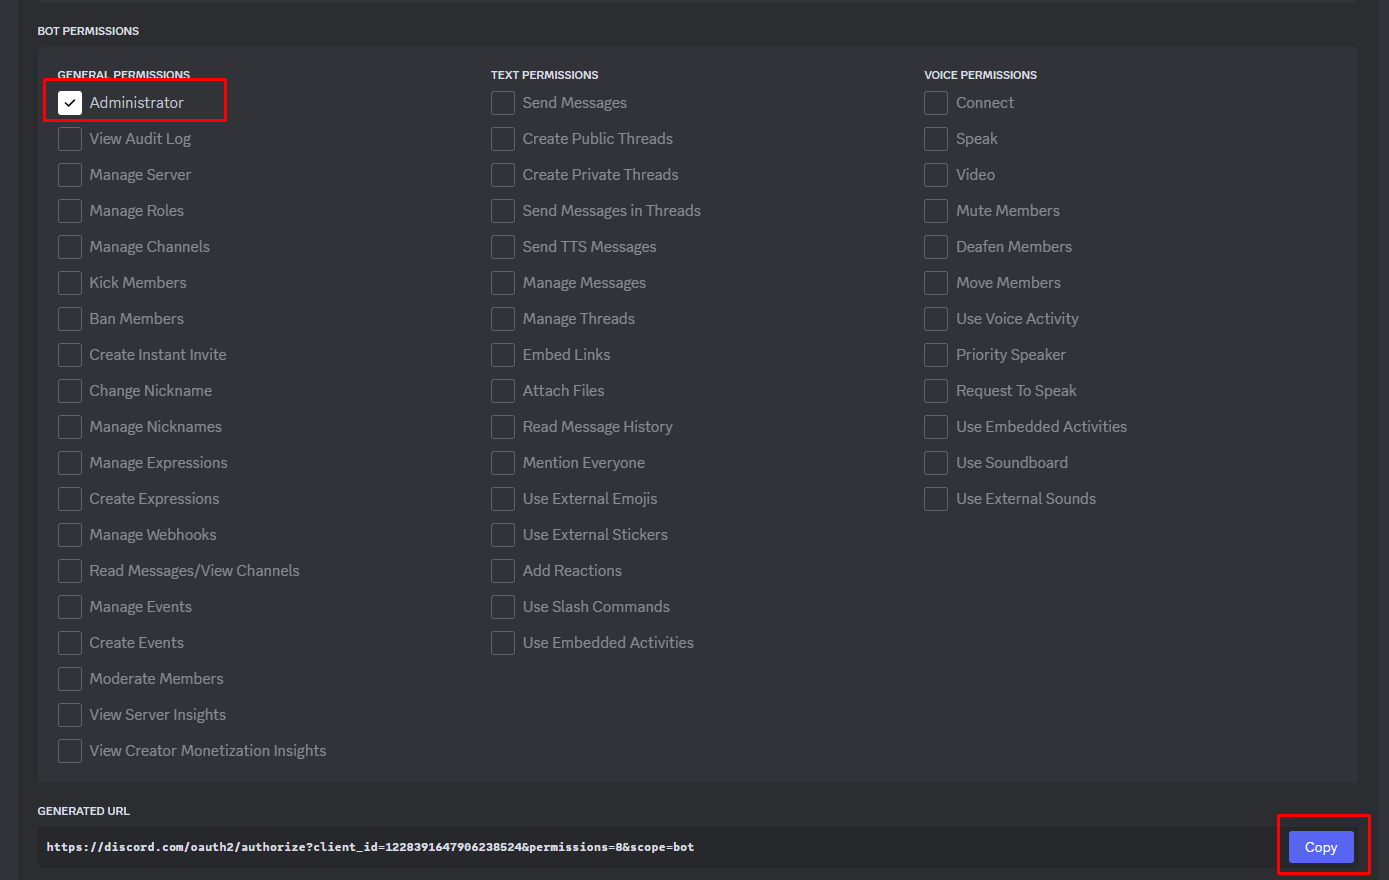
Paste the URL in your browser and authorize the bot to join your server.
Select the server where you want to add the bot and click on the "Continue" to add the bot to your server.
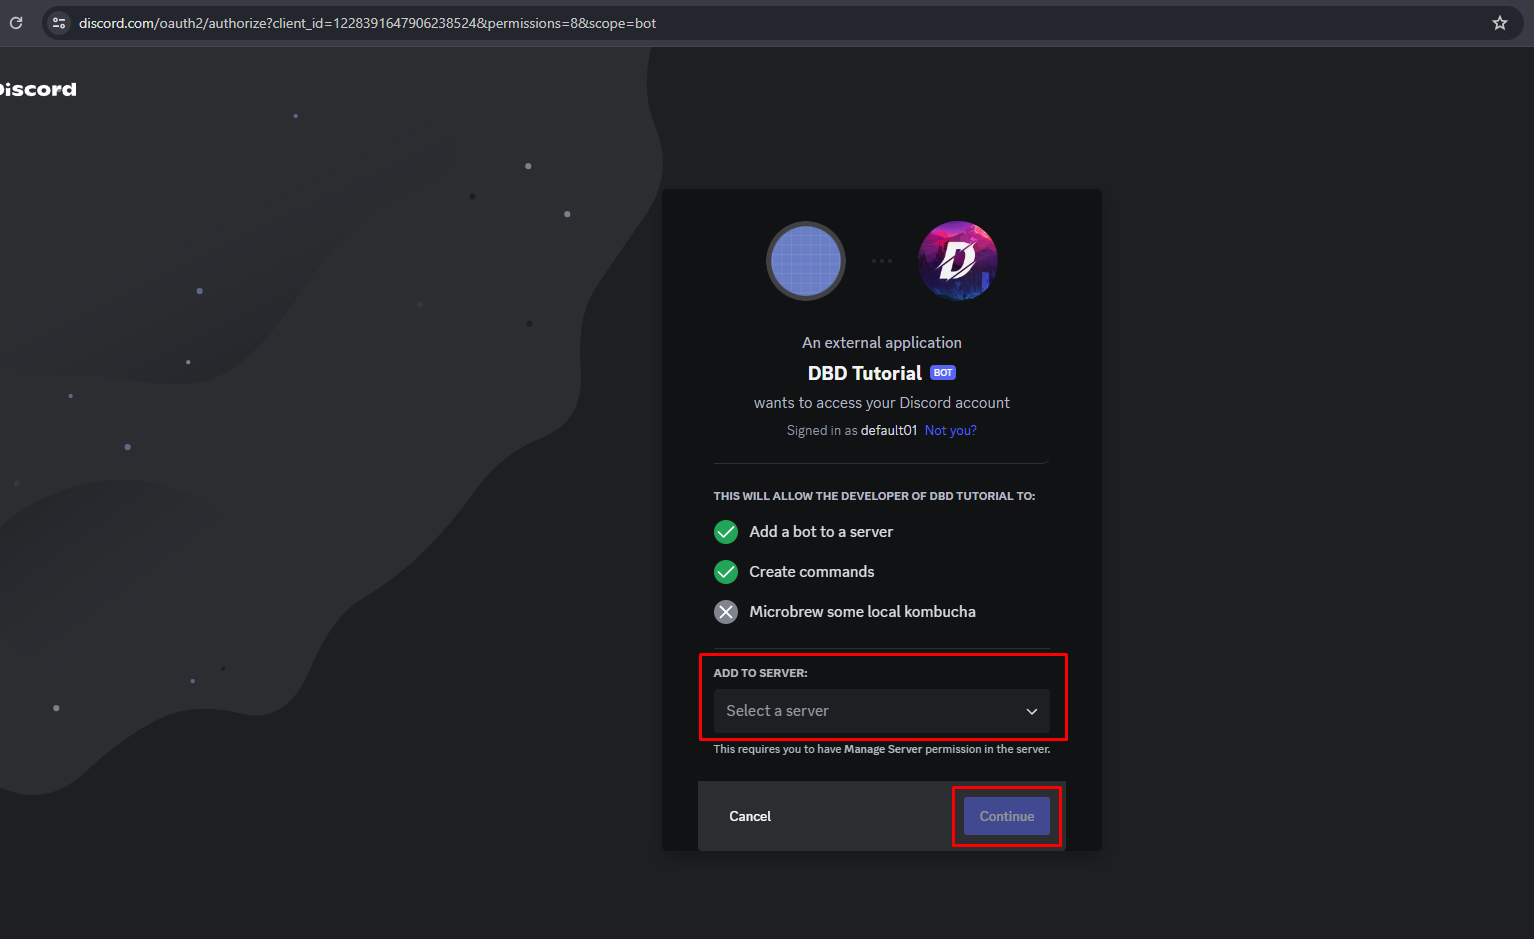
Now the bot is added to your server.
Setup DBD Bot
Local Configuration
When running the bot with local configuration, you need to configure your config.json file locally on your machine instead of using the configuration page on the DBD Nexus site. This way you can run the bot without the need of configuring it through the DBD Nexus site.
This method is recommended for experienced users who are familiar with the configuration of JSON files and understand the structure of the configuration files. If you are new to this or not comfortable with editing JSON files, it is recommended to use the remote configuration method instead.
Download the DBD Nexus Daemon from the DBD Support Server.
Extract the downloaded file.
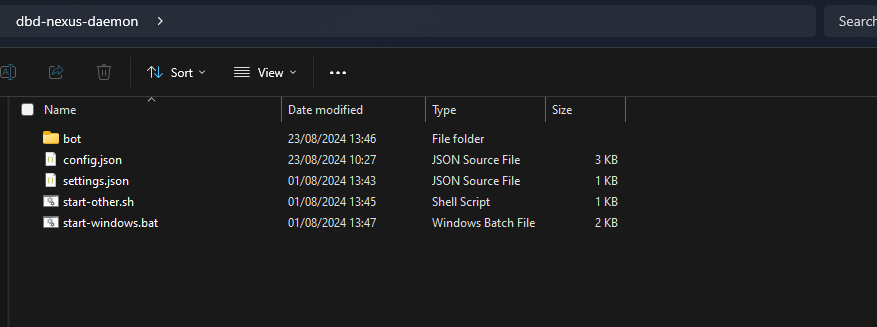
Edit the
config.jsfile with a text editor like VSC.Inside the
config.jsfile you will have to enter your bot token ingeneral_bot_token, the discord server ID atgeneral_credentials_guild_idwhere you want to run the bot.config.json file (Partial){
"general_bot_token": "", // Your bot token. You can find this on the Discord Developer Portal. Or follow the steps mentioned above.
"general_credentials_guild_id": "", // The Discord server ID where you invited the bot application into.
...
}After editing the
config.jsfile, save the changes. and close the file.Inside the extracted folder run the
start-windows.batfile. (For Windows users) else run thestart-other.shfile. (For Linux users)The bot will now start and install the necessary files and modules.
On the first start, the bot will ask for your DBD Account Secret. This can be found on the DBD Nexus site under the "Account" tab. Make sure to enter this and keep it hidden from others.
Secondly, the bot will ask the config id. If you wanna use an existing config from the site make sure to enter the config id. If you don't have a remote config you can enter a any new config id to create a new config.

Once the bot is started, you can see the bot running in your server.
Remote Configuration
When running the bot with remote configuration, you need to configure your bot through the DBD Nexus site. This way you can easily manage your bot's configuration and modules through the DBD Nexus site without the need of editing the configuration file manually.
Currently the remote configuration feature is not available. It will be available in the upcoming updates. For now, you can use the local configuration method to run your bot(s).